

SOP: Final LinkedIn Test Run After Plugin Connection
Key Steps
1. Return to the test drive and begin the final test stage 0:00
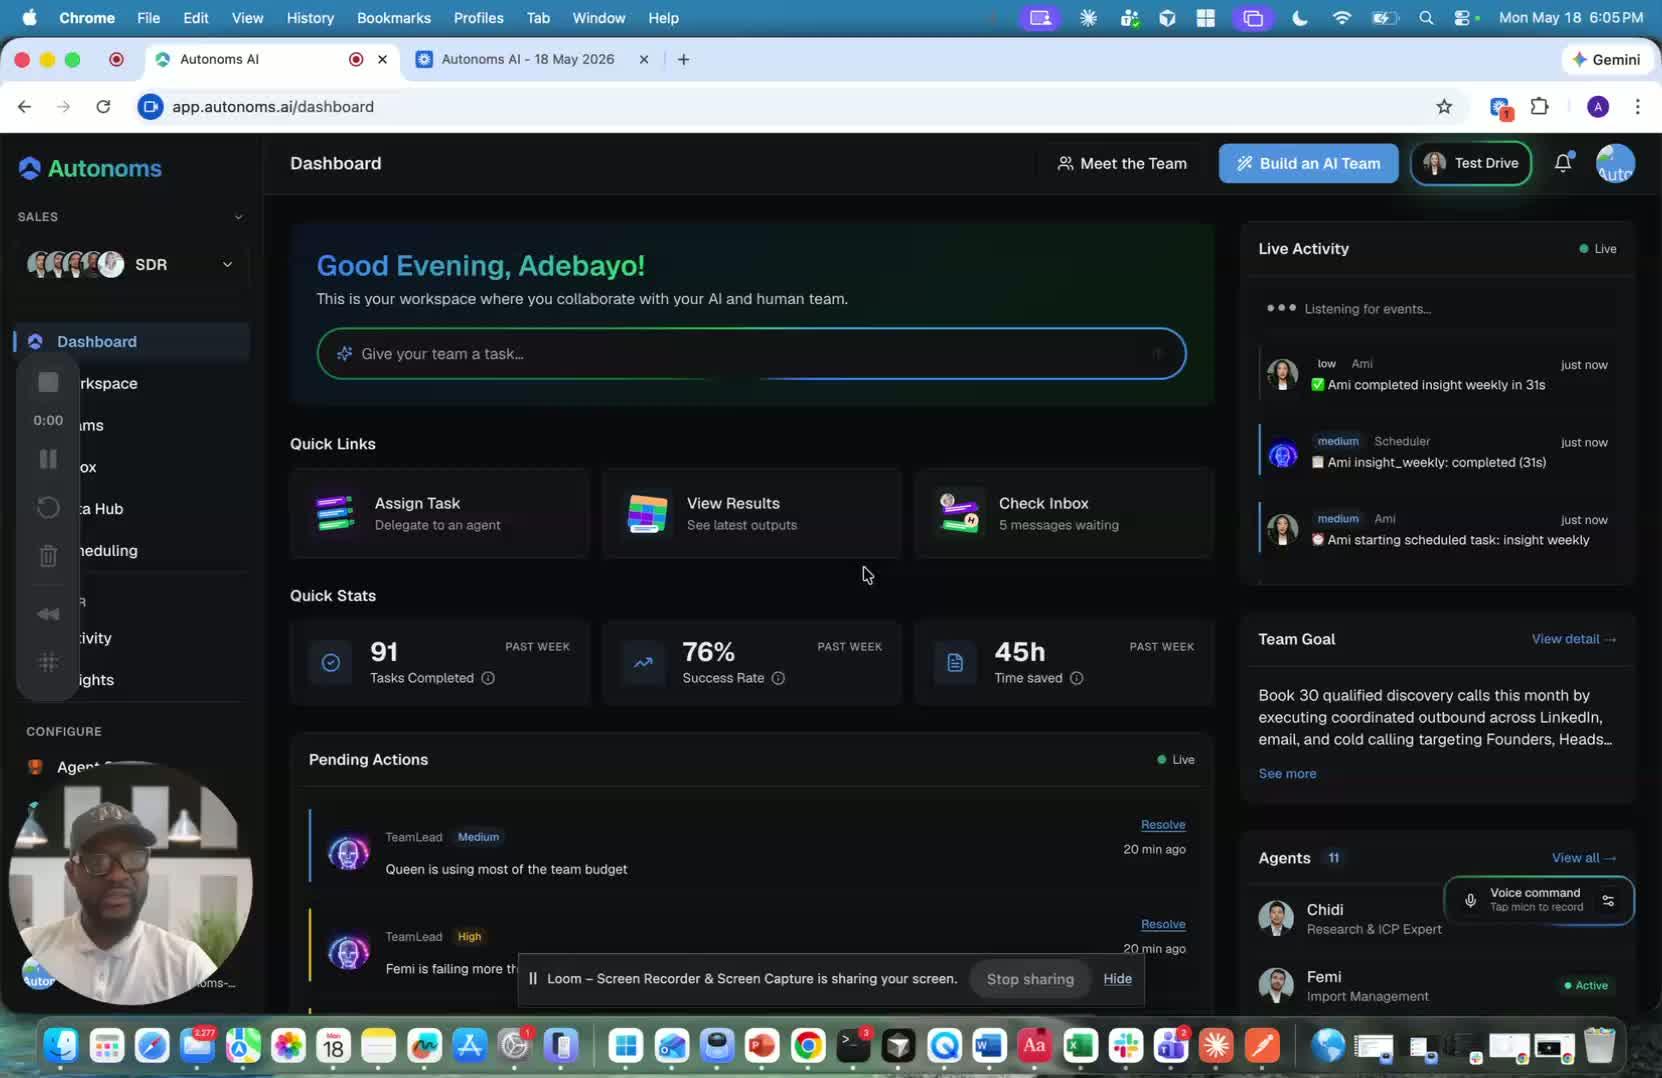
- Go back to the test drive after confirming the LinkedIn plugin is connected.
- Start the last stage of the test run.
- Confirm you are ready to validate the LinkedIn workflow end-to-end.
2. Run the test as if you were the ICP 0:12
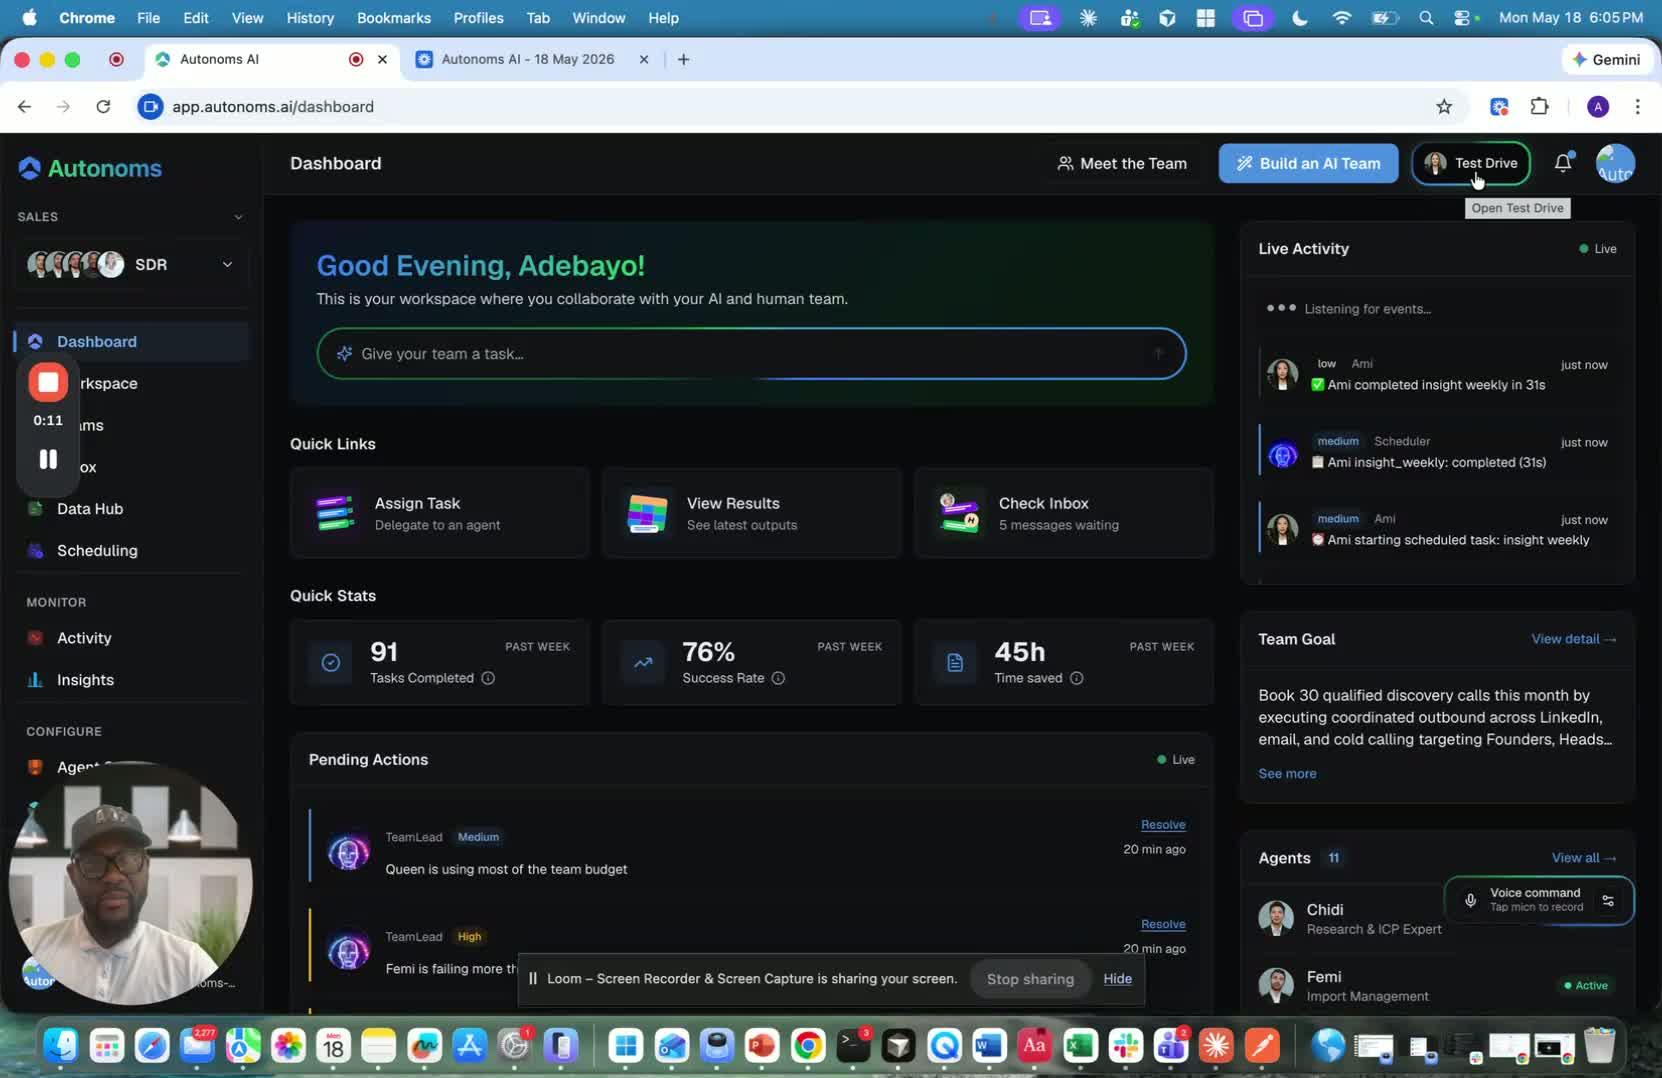
- Perform the test by impersonating your ICP (ideal customer profile).
- Use the API/site package flow as the test method.
- If needed, run the one-tap test in the emulator.
- Continue through the API test steps until the workflow completes.
3. Handle the email stage appropriately 0:20
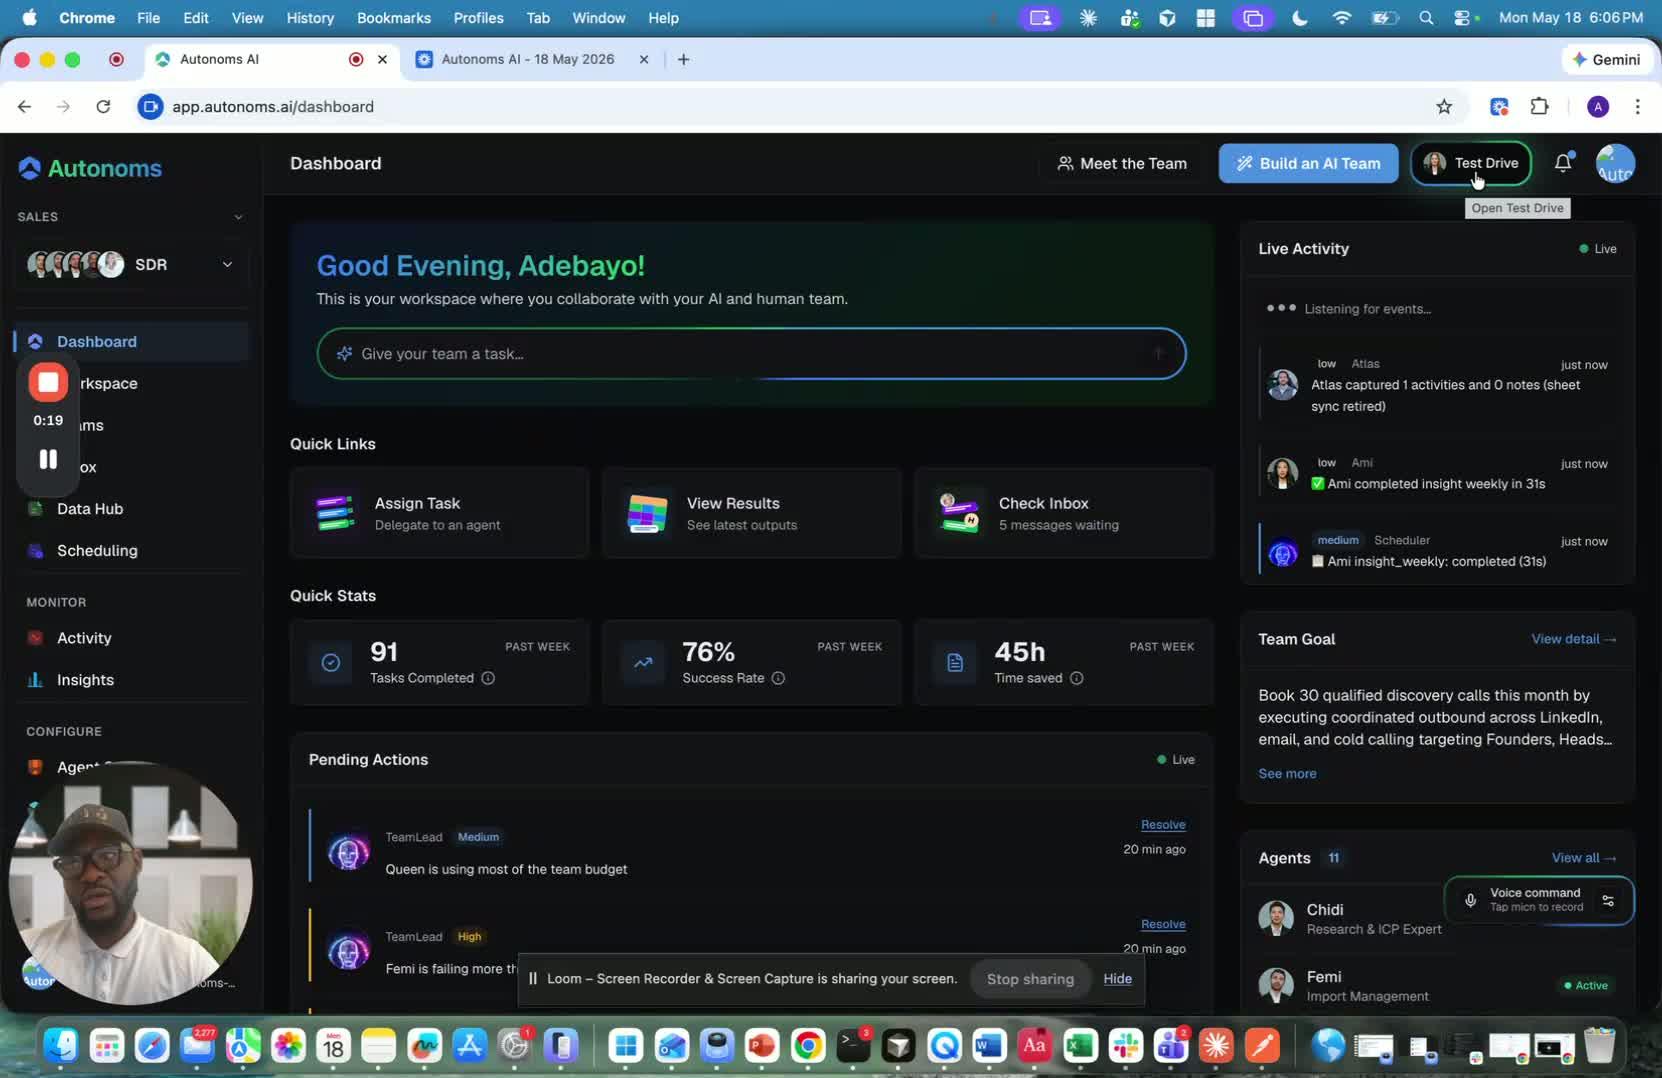
- Proceed through the email portion of the test run.
- Note that the email was intentionally not replied to in the demo.
- Use this as a reference for how the system behaves when no reply is sent.
4. Disable the avatar if it slows or disrupts the flow 1:20
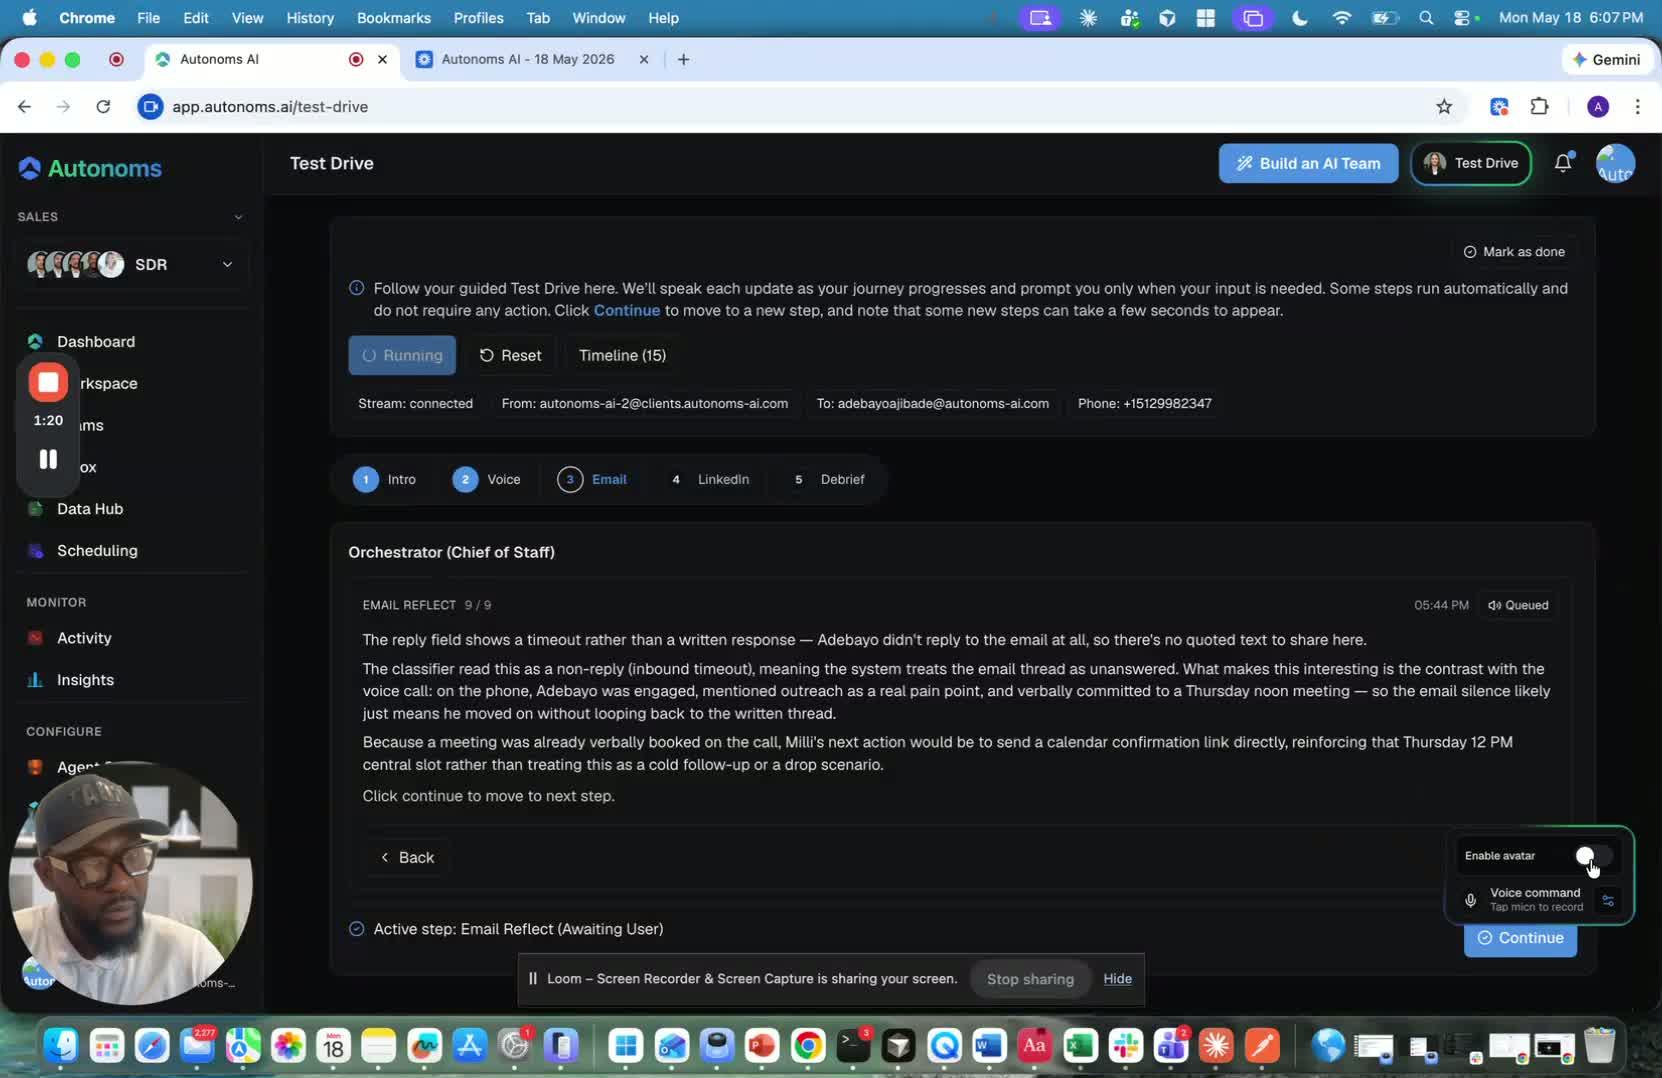
- If the avatar is too slow, breaking up, or affected by network issues, disable it.
- Switch to reading the output directly when that is faster or more reliable.
- Use the avatar only when it improves clarity and does not interrupt the test.
5. Continue to the LinkedIn follow-up step 1:30
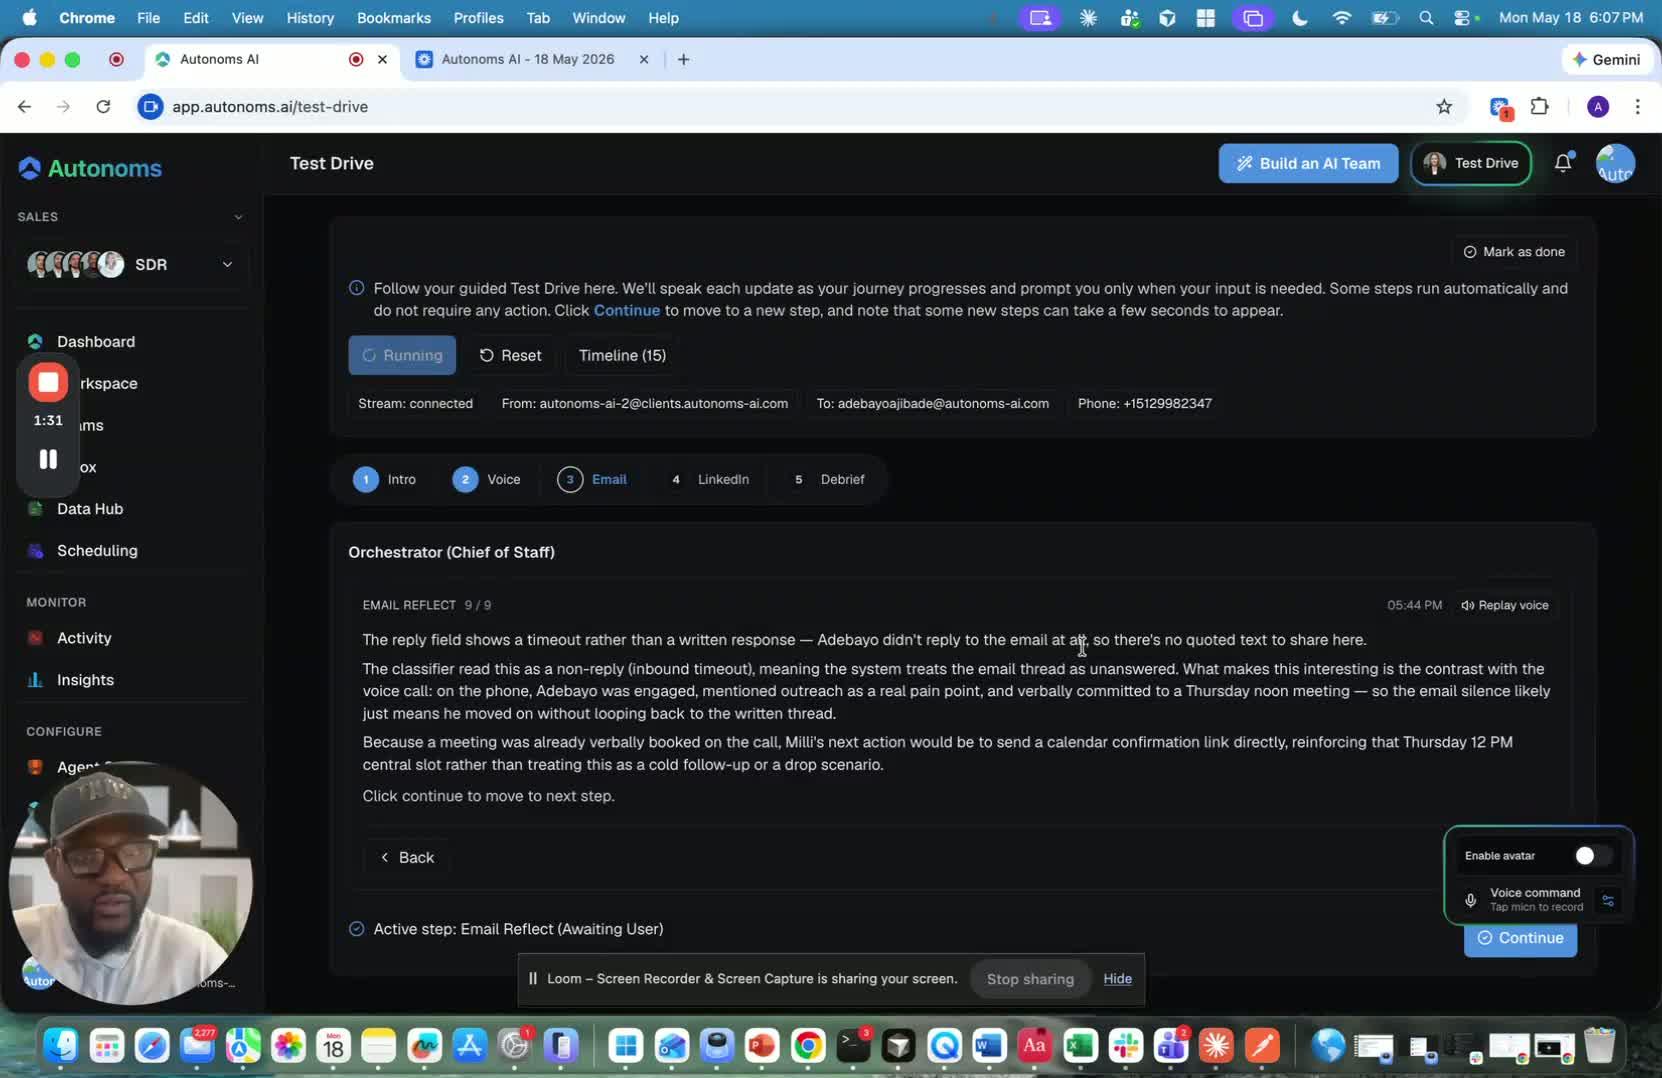
- Move on to the LinkedIn portion of the workflow.
- Continue the process after the prior test stage is complete.
- Treat LinkedIn outreach as the next action in the sequence.
6. Review the purpose of the LinkedIn touch 1:50
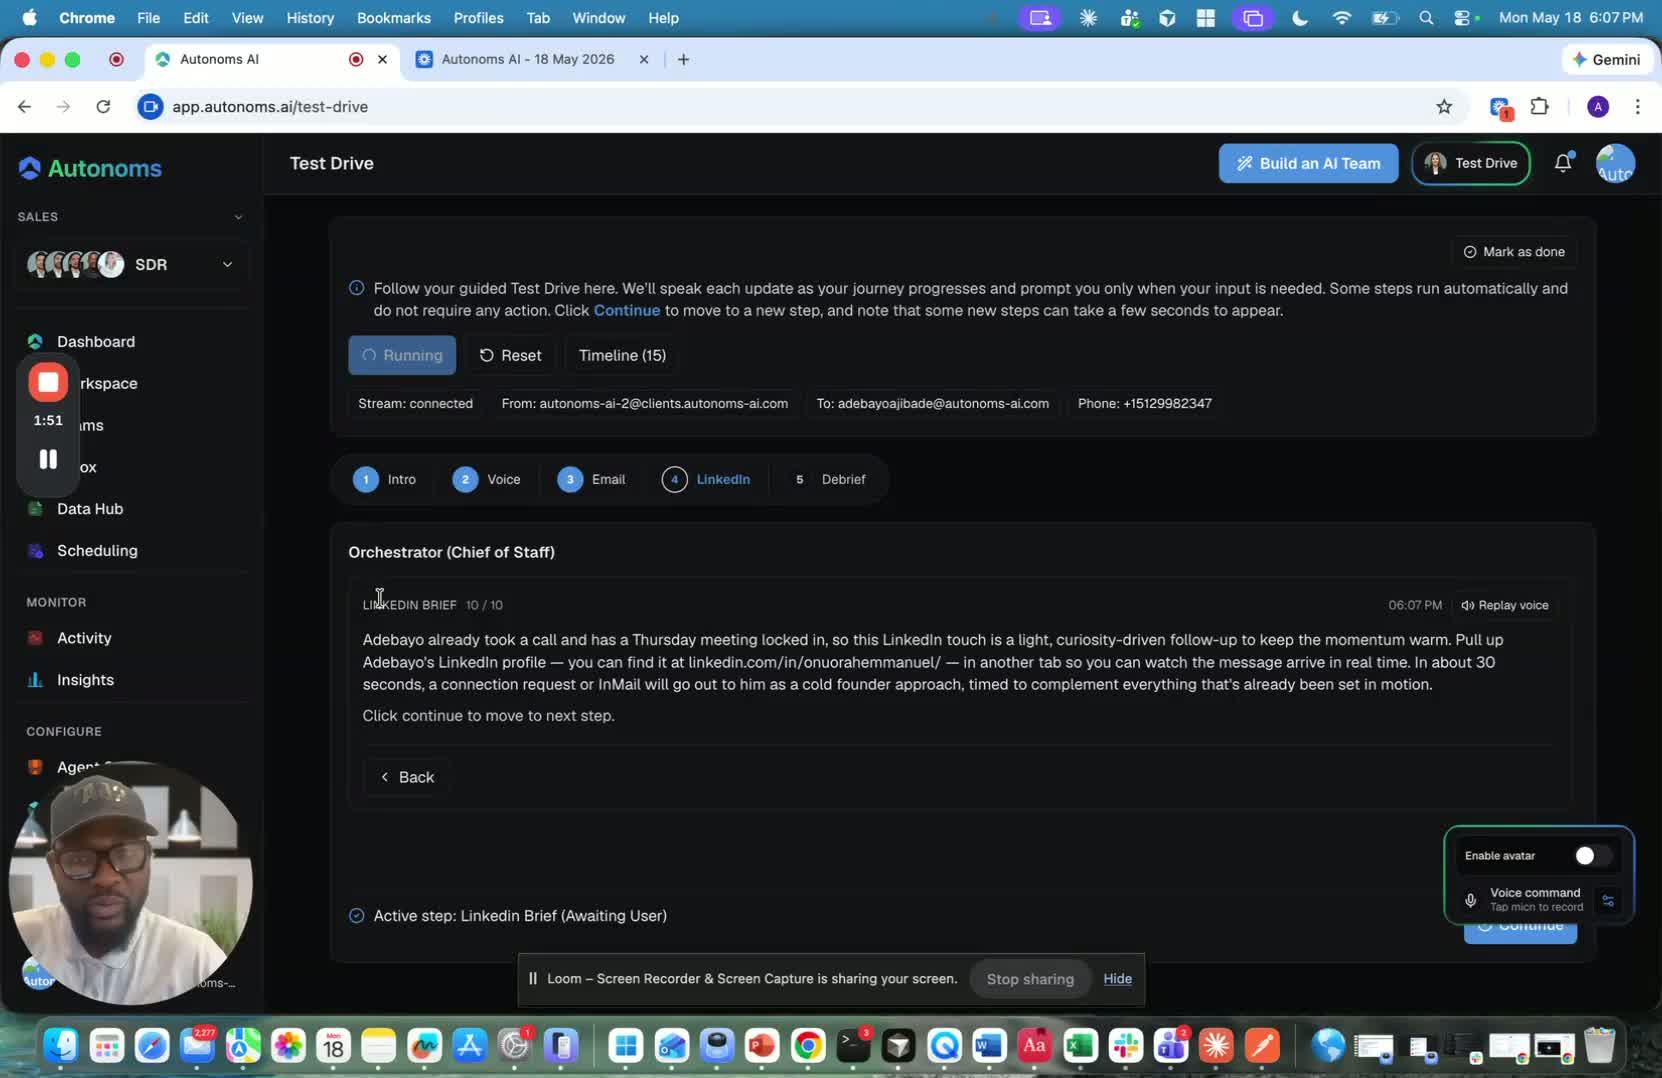
- Use LinkedIn as a light, curiosity-driven follow-up.
- Keep the momentum warm after the meeting has been locked in.
- Focus on maintaining engagement rather than pushing for a hard sell.
7. Open the target LinkedIn profile and monitor delivery 2:01
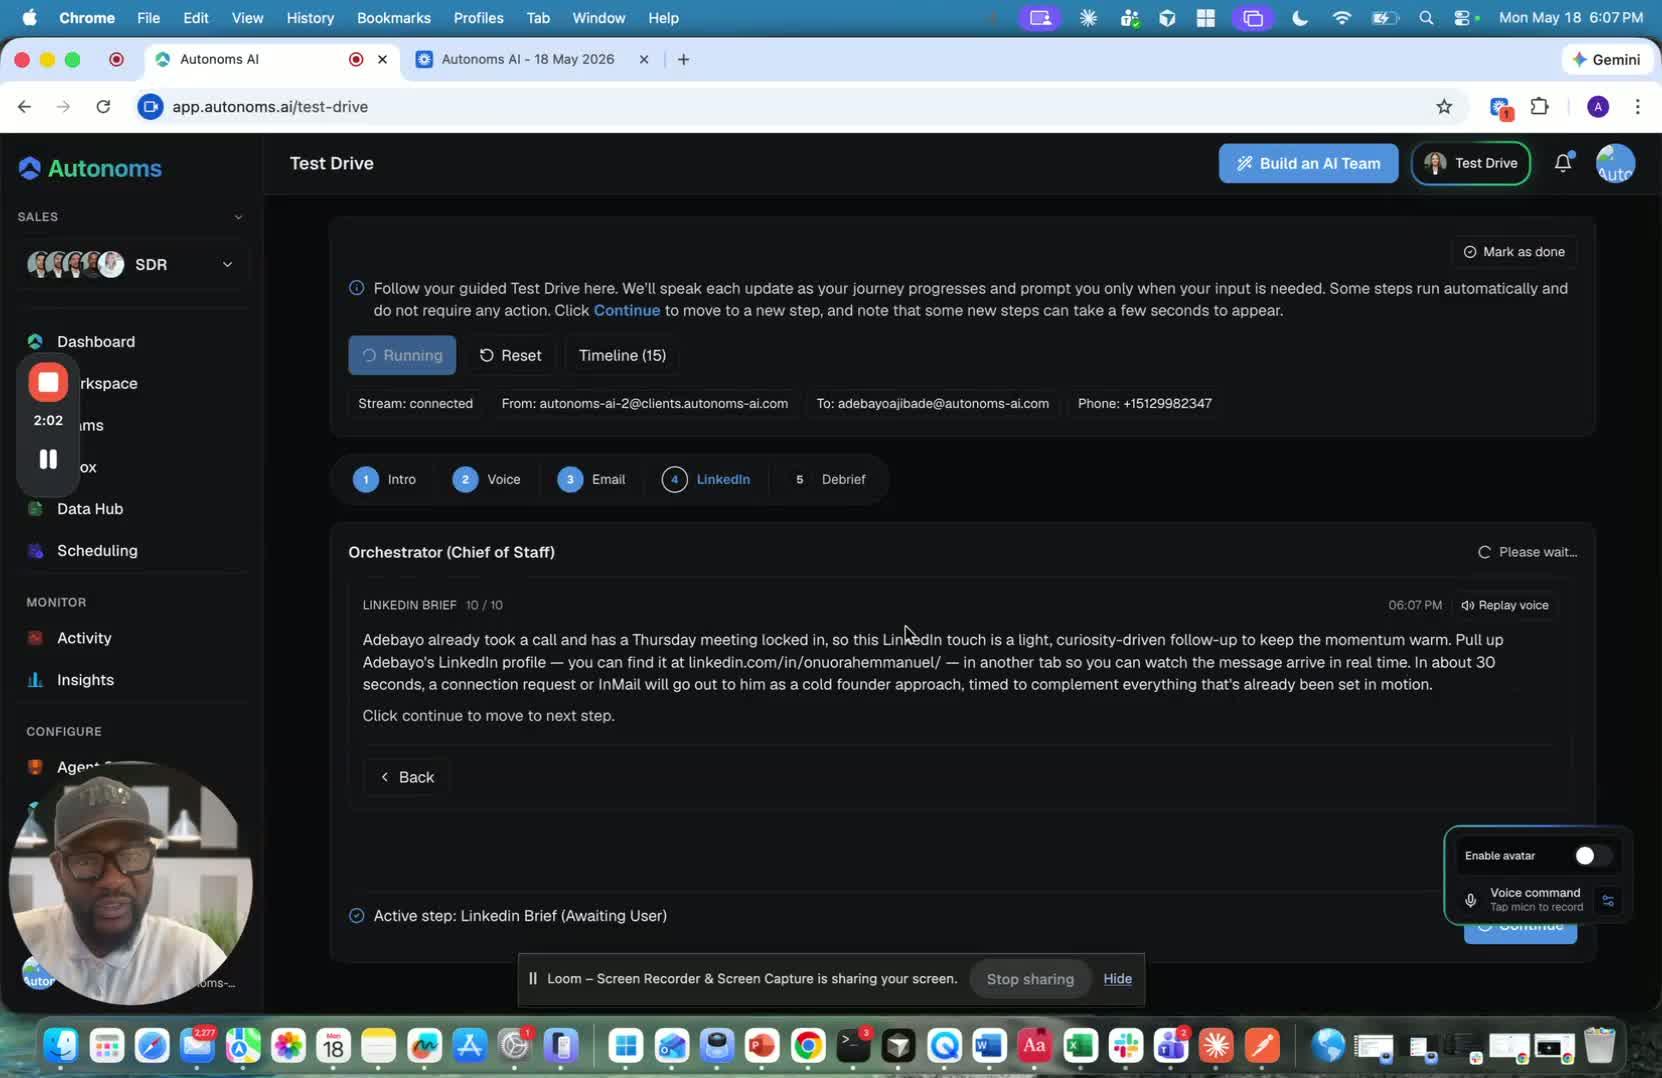
- Pull up the target contact’s LinkedIn profile in a separate tab.
- Watch for the message to arrive in real time.
- Allow up to about 30 seconds for the message to appear.
8. Understand the LinkedIn testing limitation 2:08
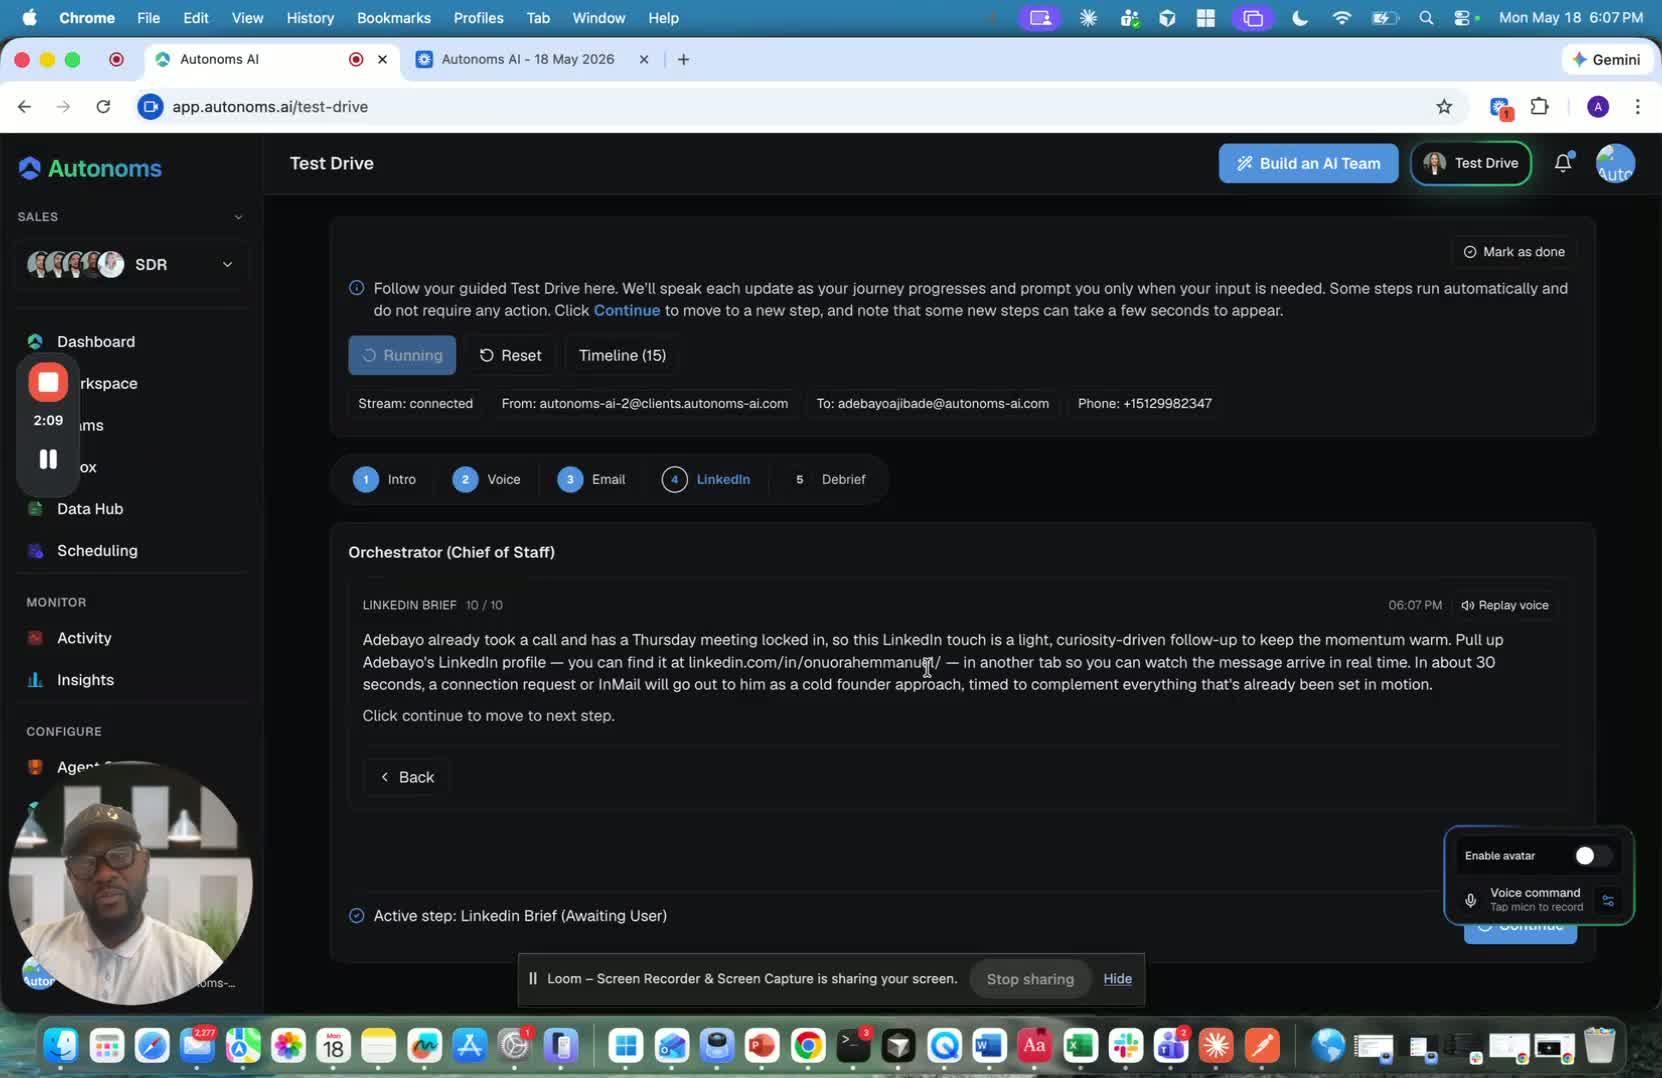
- Recognize that LinkedIn does not allow sending a message to yourself.
- Do not expect to use the same self-test method available for email.
- Plan to test LinkedIn outreach by sending to another person instead.
9. Confirm the account connection and outreach path 2:17
generated-image-at-00:02:17
- Verify that the LinkedIn profile is already connected through the browser plugin.
- Use Autonomous as the outreach path through the browser connection.
- Understand that this connection prevents self-messaging in the test.
10. Send the LinkedIn message to a real recipient 2:35

- Choose another recipient for the LinkedIn test message.
- Send the message to validate the workflow in a realistic scenario.
- Use this step to confirm the outreach process works outside of self-testing.
Cautionary Notes
- Do not attempt to send a LinkedIn message to yourself; the platform does not support this.
- If the avatar causes delays or network-related issues, disable it and continue with the text/output view.
- Be aware that the email example included an intentional non-reply, so do not treat it as a failure without context.
- Wait briefly for LinkedIn delivery; messages may take up to 30 seconds to appear in the profile tab.
Tips for Efficiency
- Keep the target profile open in a second tab before sending the LinkedIn message.
- Use the one-tap/emulator flow when available to speed up the test run.
- Disable the avatar early if it is slowing down the process.
- Treat LinkedIn as a warm follow-up channel, so keep the message short and curiosity-driven.
Link to Loom
https://loom.com/share/7217b4ca94fa4ee78df8c21064901af2
LinkedIn Plugin Test Run: Final Validation Steps
1. Return to the test drive and start the final stage 0:00
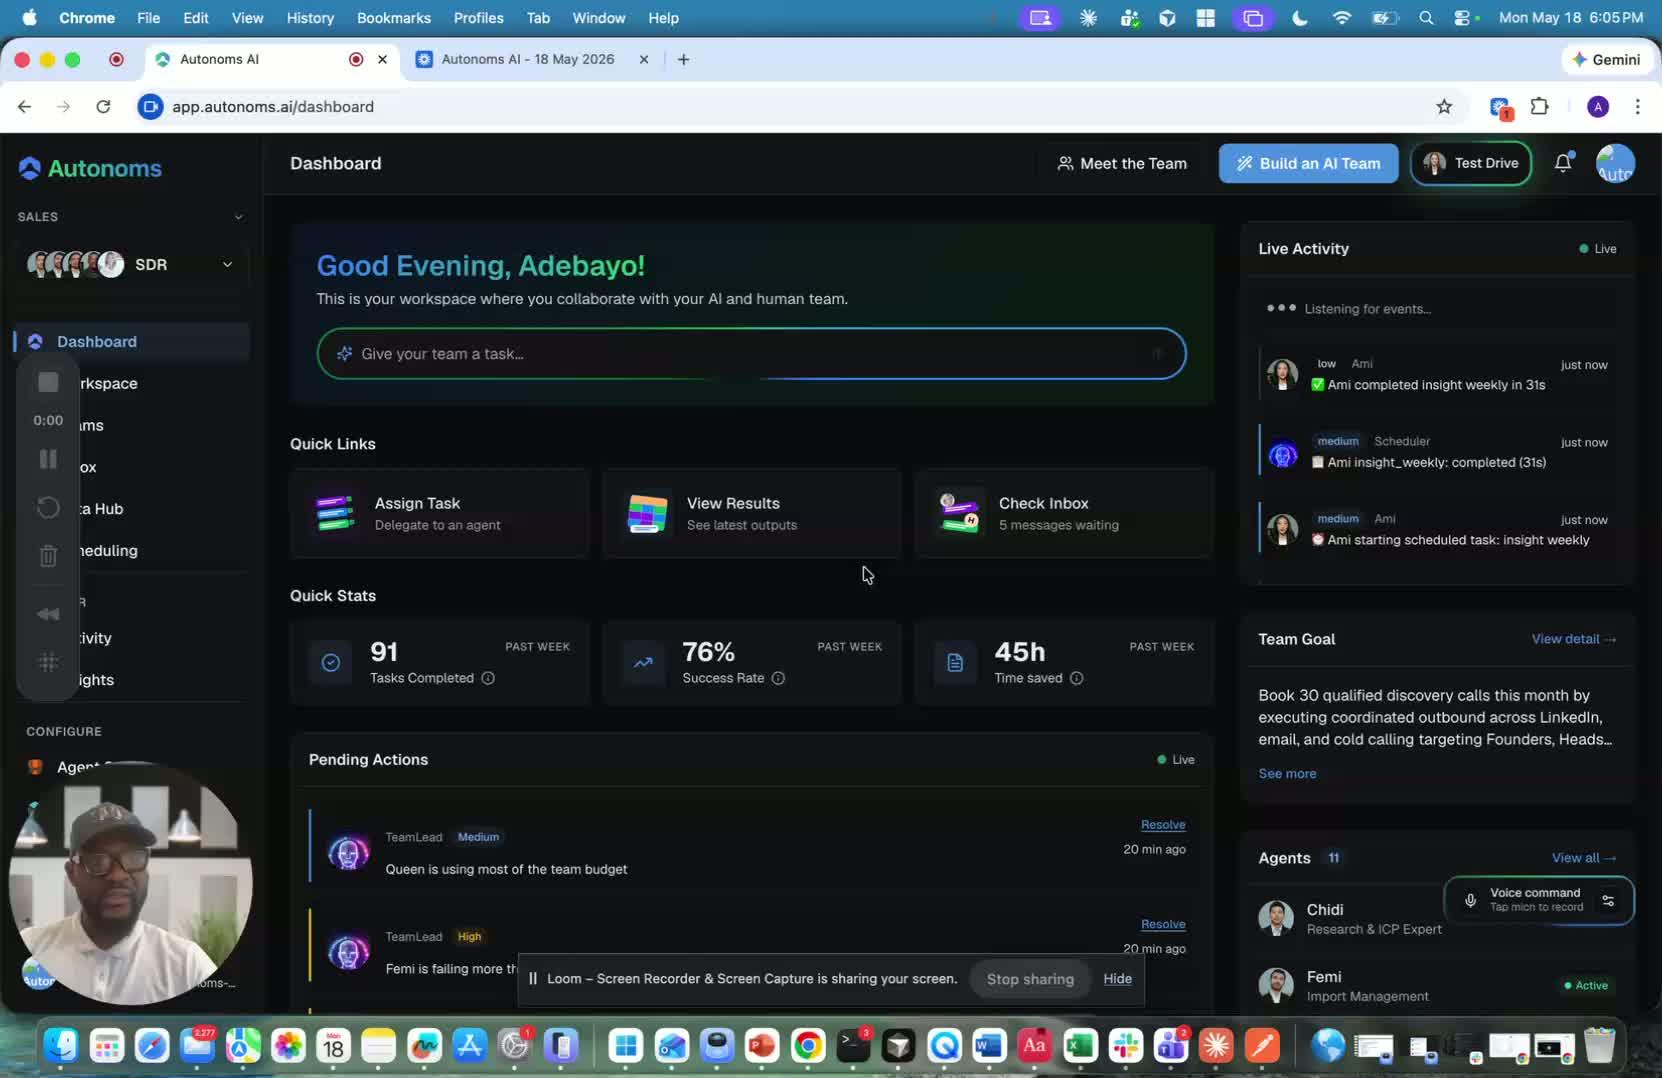
- Now that the LinkedIn plugin is connected, go back to the test drive.
- This is the last stage of the test run.
- The goal is to validate the workflow end-to-end after setup.
2. Run the test as if you were the ICP 0:12
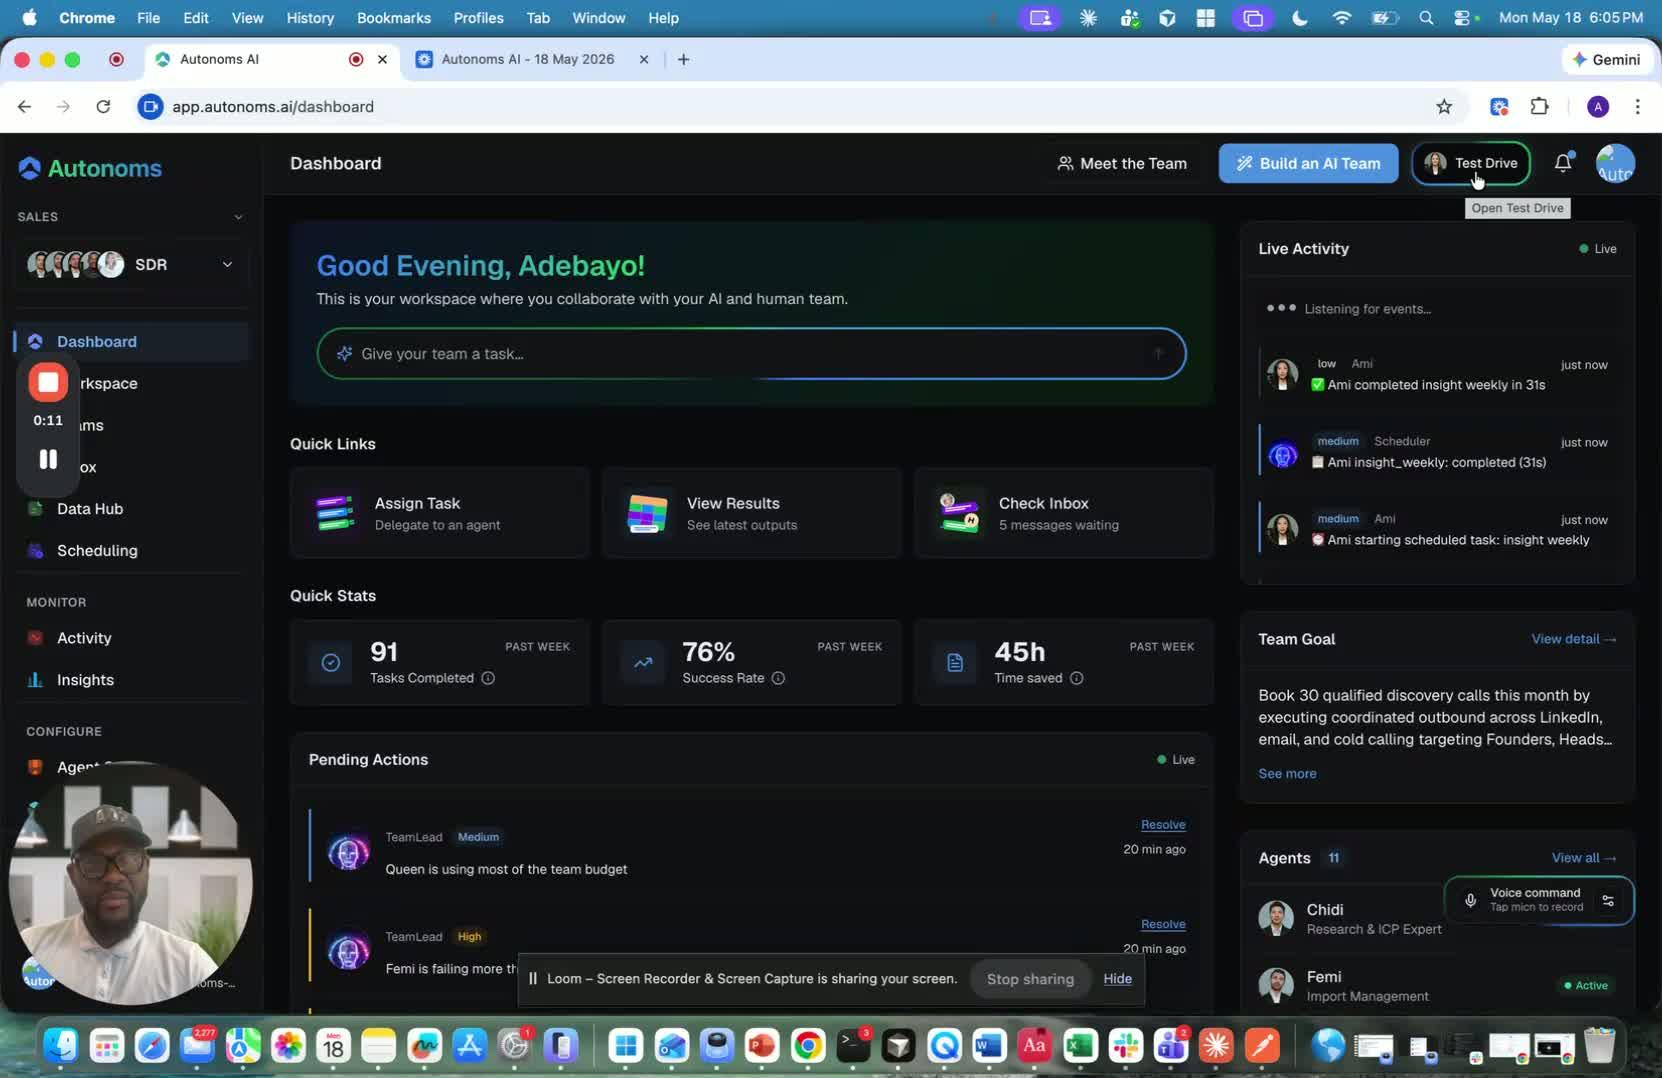
- The test run is meant to simulate your ideal customer profile (ICP).
- In this case, you are effectively acting through the API / package flow.
- The process is intended to be a simple one-tap test run for the user.
- If needed, use the one-tap run test emulator to continue.
3. Continue through the flow and note the email caveat 0:28
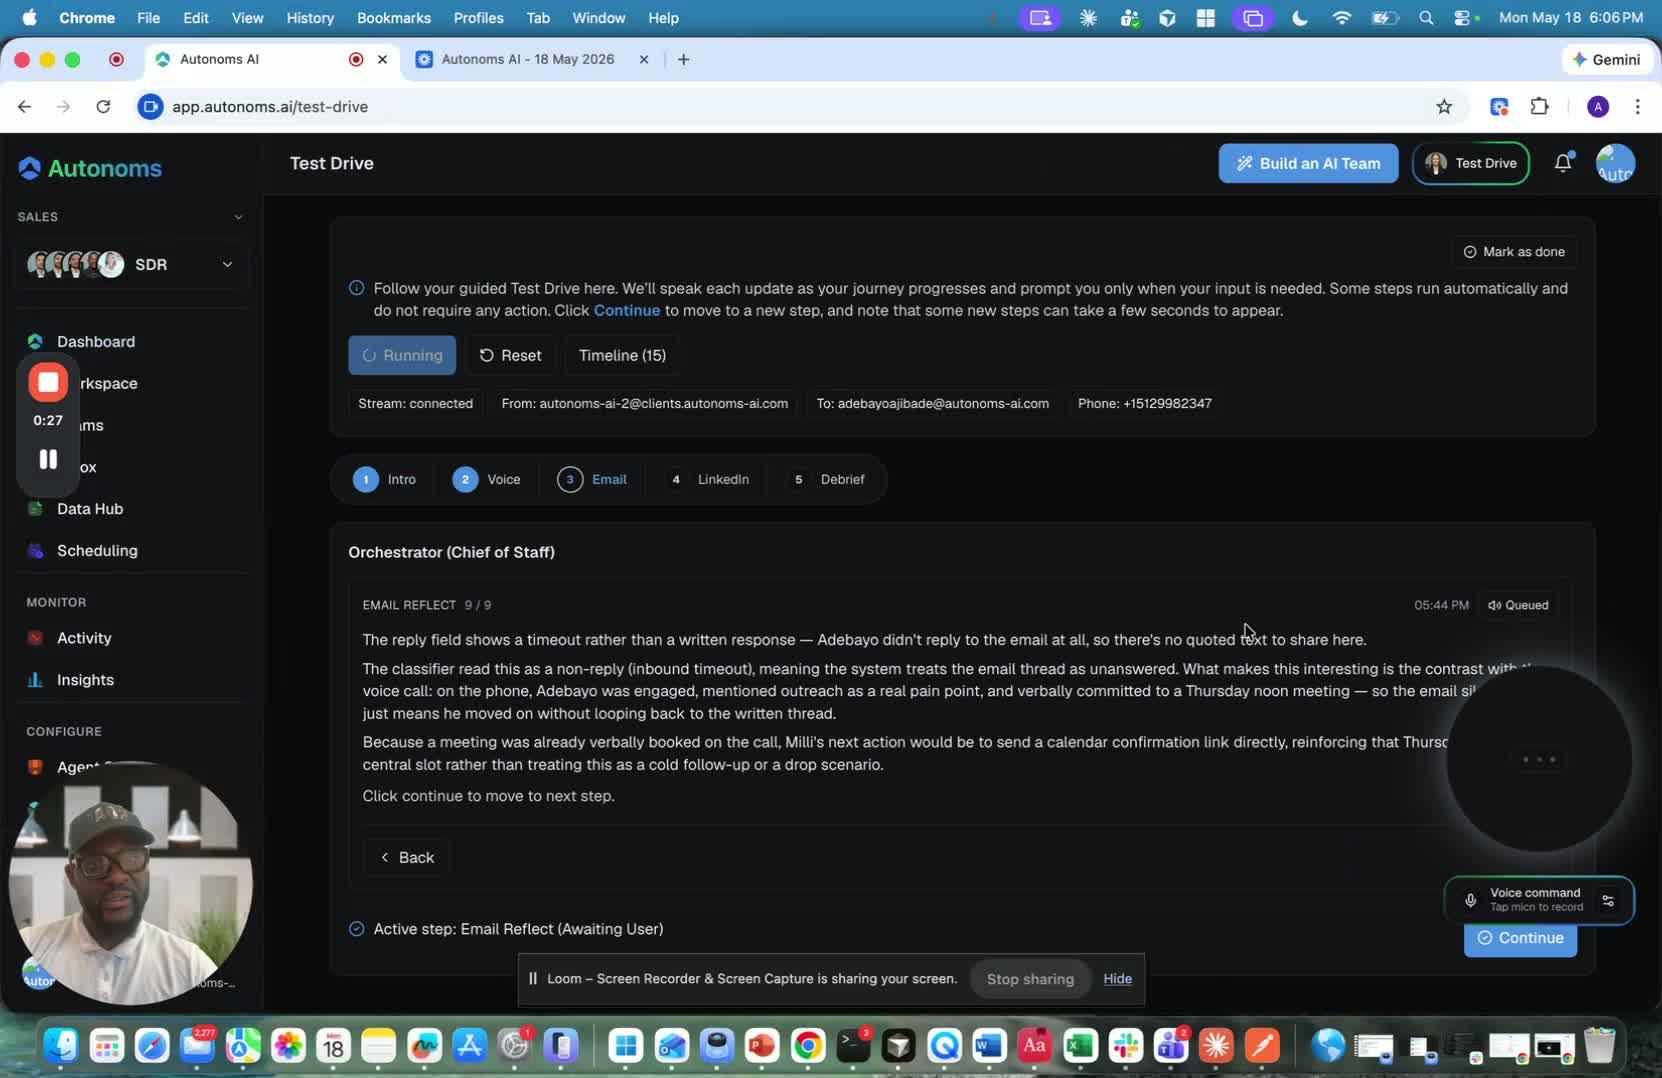
- Proceed to the next step in the API test run.
- A caveat is mentioned: the email was intentionally not replied to.
- This is done on purpose as part of the test scenario.
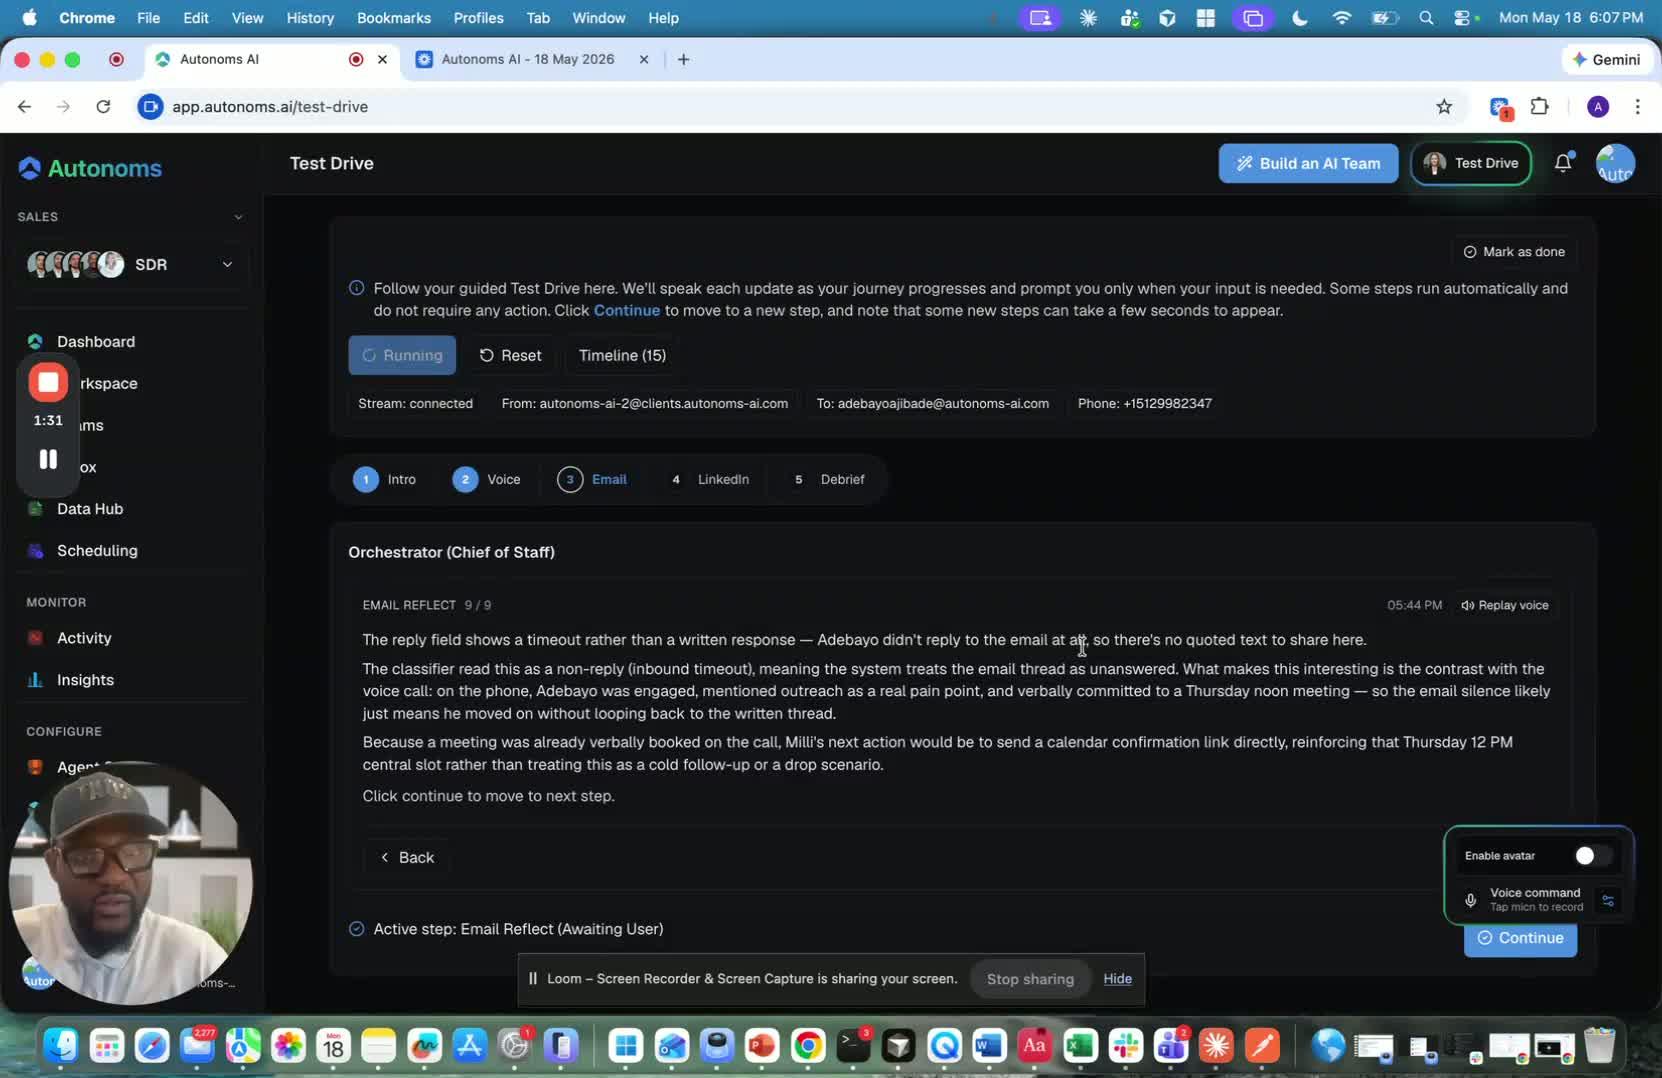
4. Use the avatar only if needed 1:20

- The avatar can be disabled at any time.
- If the avatar is too slow or network issues make it hard to follow, turn it off.
- In that case, simply read the content directly instead of relying on the avatar narration.
5. Switch to the LinkedIn follow-up test 1:30
- Continue to the LinkedIn portion of the test.
- The example uses Adebayo, who already took a call and has the meeting locked in.
- The LinkedIn touch should be light, curiosity-driven, and designed to keep momentum warm.
6. Open the LinkedIn profile and watch the message arrive 1:50
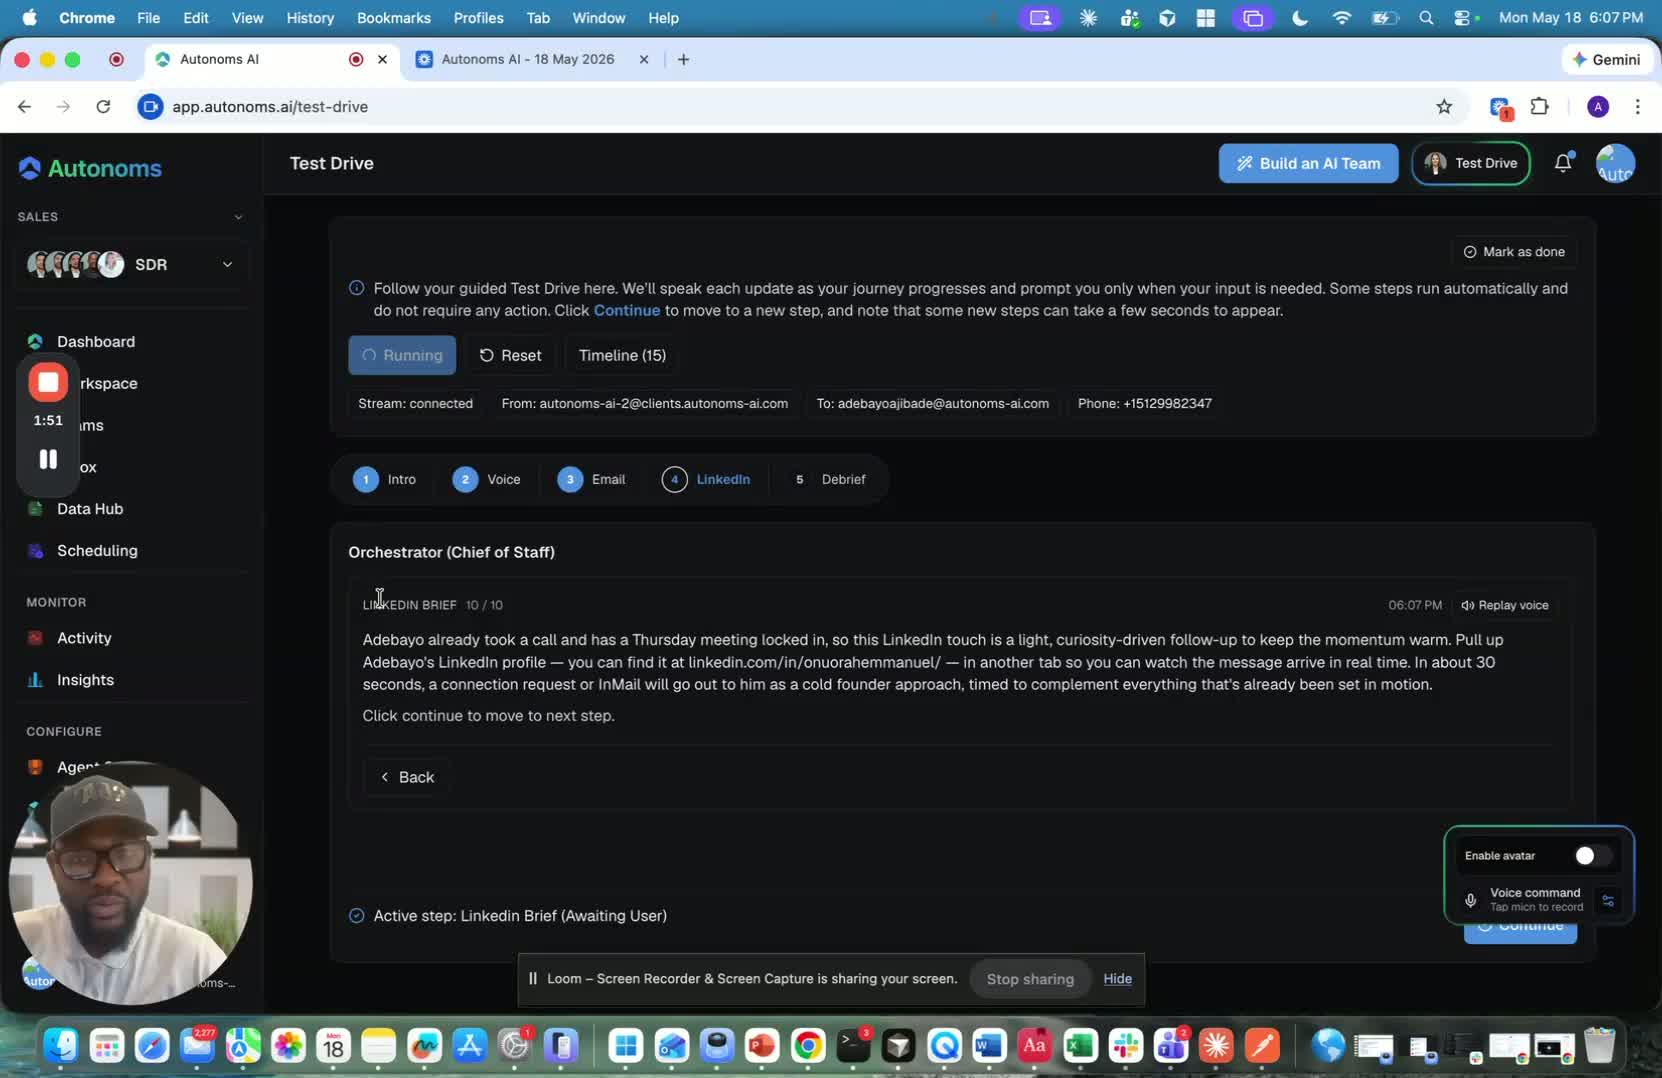
- Pull up Adebayo’s LinkedIn profile.
- Open it in one tab.
- In another tab, watch the message arrive in real time after about 30 seconds.
7. Understand the LinkedIn limitation in the test setup 2:01
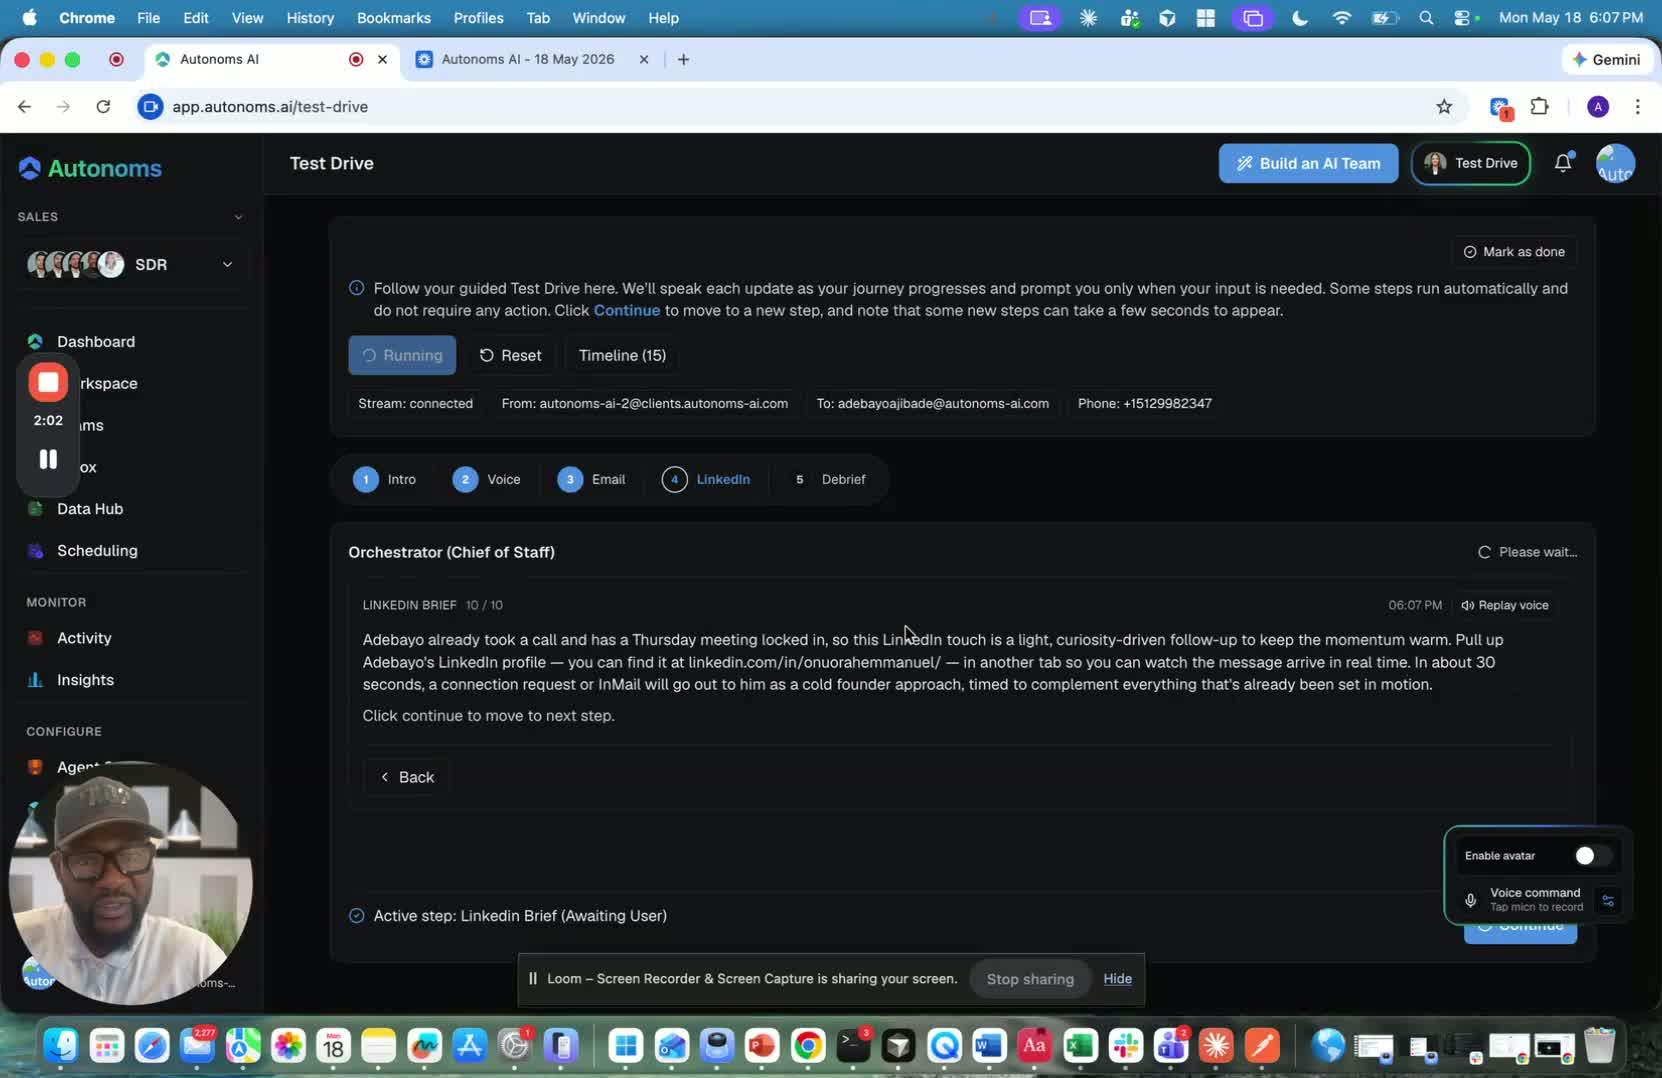
- The LinkedIn test is different from the email test.
- You cannot send a LinkedIn message to yourself.
- LinkedIn does not provide a way to impersonate your ICP in the same way as the email flow.
8. Use the connected LinkedIn account as the outreach channel 2:17
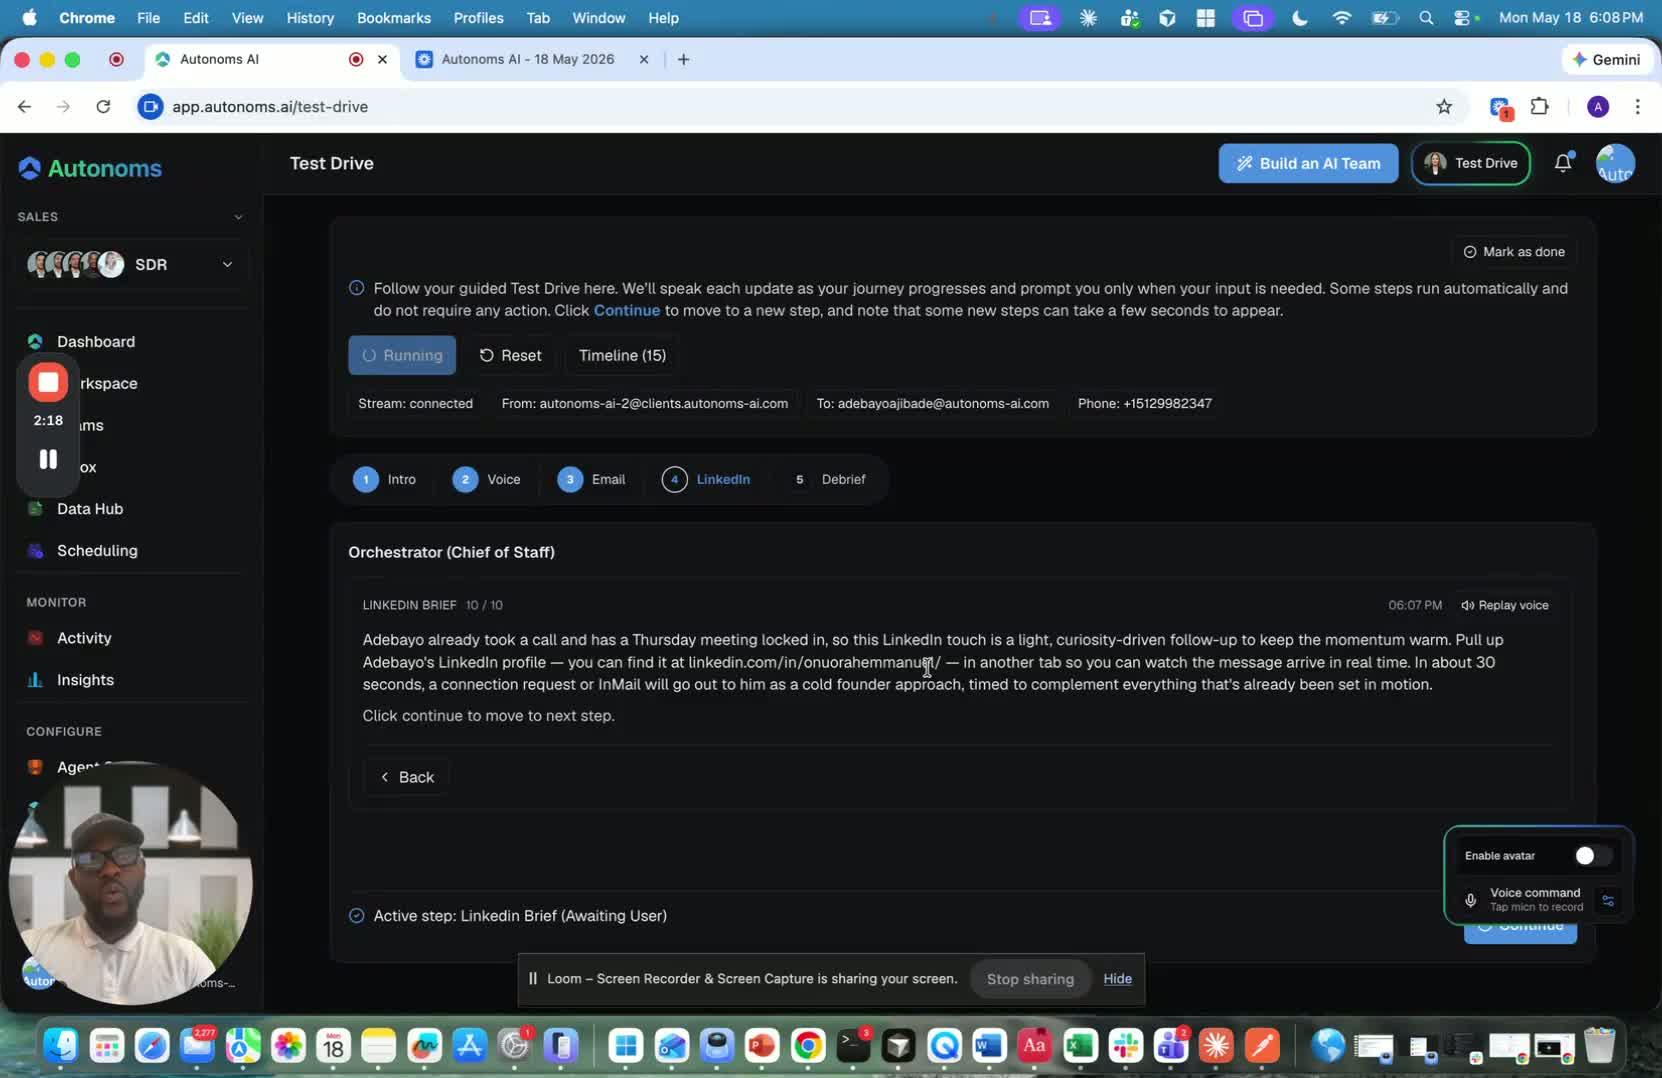
- Your LinkedIn profile is already connected to Autonomous through the browser plugin.
- That connected profile is the channel used to reach out.
- Because of this setup, you cannot play the “devil’s advocate” by messaging yourself.
- If you want to test the LinkedIn flow, you need to send the message to another person.